
September 28, 2025
Okay, well, there's been a lot of shit happening in the world. This entry is going to be a little off-theme because I don't have any car updates in this one. Instead, I promised a friend I'd write up and share my vegan kimbap recipe with him, so here it is.
Making kimbap can be a huge pain in the ass. My favorite thing about Korean food is how colorful it all is, and since kimbap is made of so many different kinds of fillings, you can really make it pop. But with that comes the downside that if you're making it from scratch, it can be a real chore. The first time I tried I ended up taking like 4 hours of total work, and I left a humongous mess in my kitchen. Hopefully this won't lead to that, but I still don't recommend doing all of this in one go if this is your first time making kimbap, especially if you don't have a rice-cooker machine. Do the little fillings first and the rice last. Going at an easy pace, you might be able to make everything in about two sessions.
Detailed Ingredients List (I have a shorter one after this)
-
1 bunch of spinach. You can use the stuff that you find at HEB, but if there is an Asian grocer near you, look for this kind of spinach that has the red roots:

-
Garlic. You can use peeled or fresh, but I recommend peeled
- 1 large, thick carrot (like 2 fingers thick). I feel like I only find these sold at Korean grocery stores. If your grocery store does not have the thick carrots, then get 2 of the regular whole carrots you can find at any grocery store. The thicker, the better because you're going to be julienning these
-
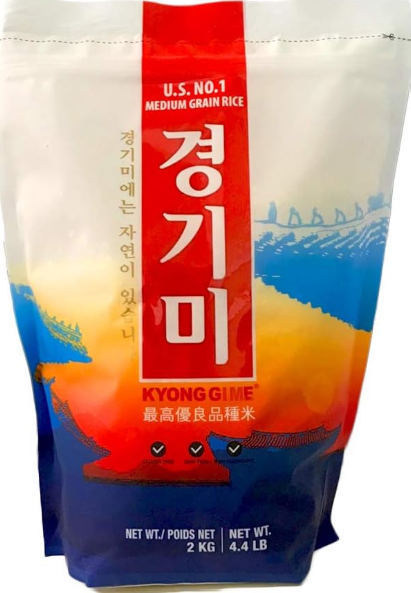
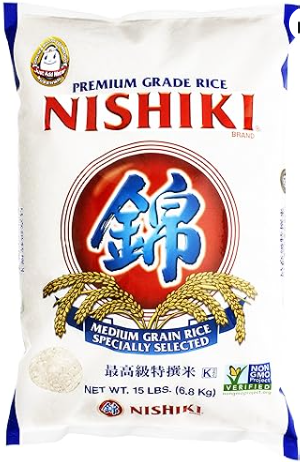
medium grain/sticky rice. Basically any rice that isn't the non-sticky long-grain kind that you typically find in American grocery stores. Below are some examples of some popular brands:
-
Sesame oil
-
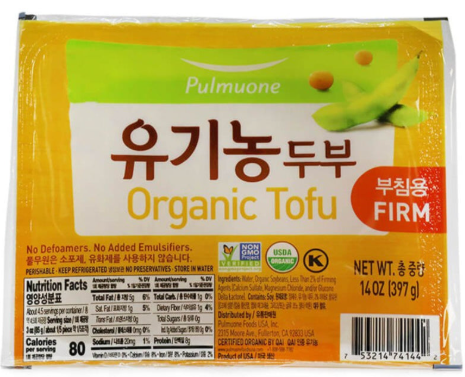
Firm tofu. My favorite brand is Pulmuone, and I've been seeing this in more and more grocery stores.
-
Soy sauce
- Sesame seeds
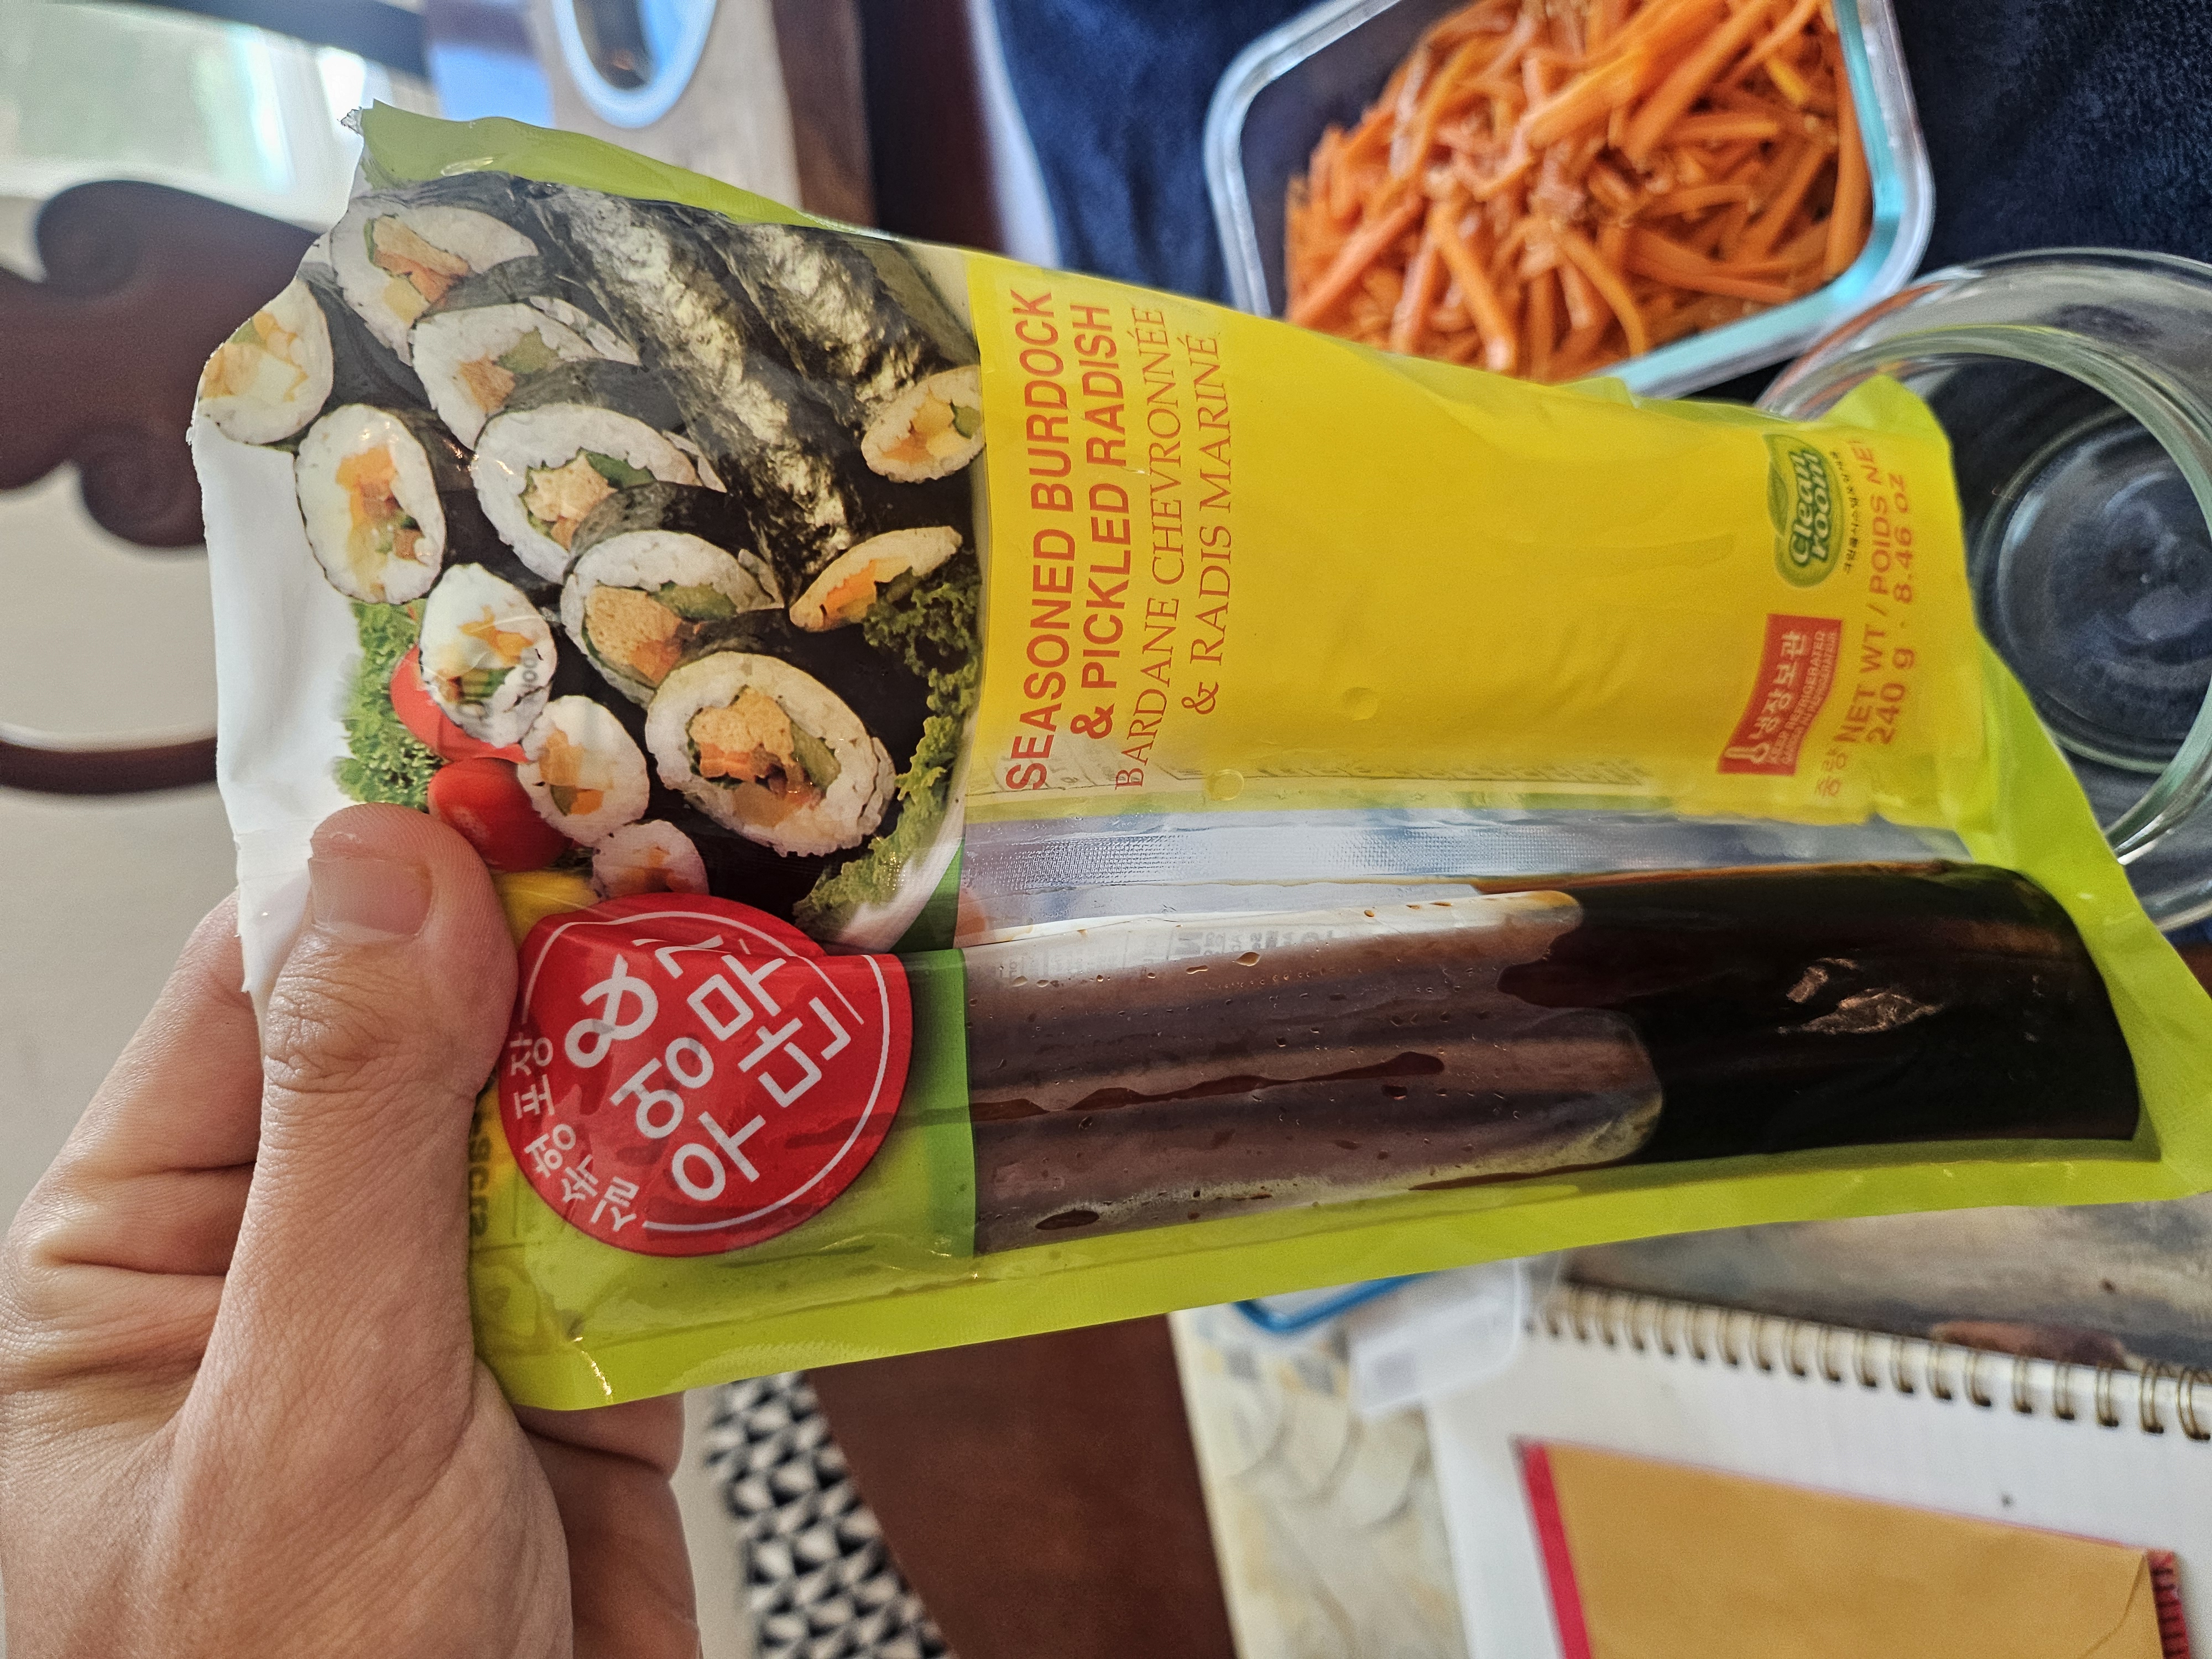
- Pre-sliced danmuji (also known as daikon)
-
Seasoned burdock root. Note that you can often get this in a combo package with the danmuji. It looks like long strands in brown liquid:
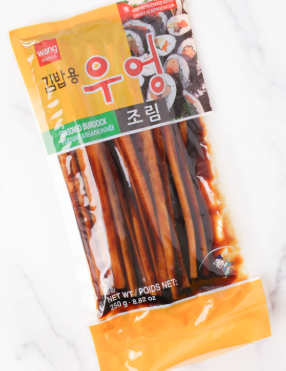
Here's an example of a combo pack. I would recommend just getting one of these so you don't have leftover danmuji and burdock root hanging out in your fridge. This ingredients list makes a lot of kimbap.
-
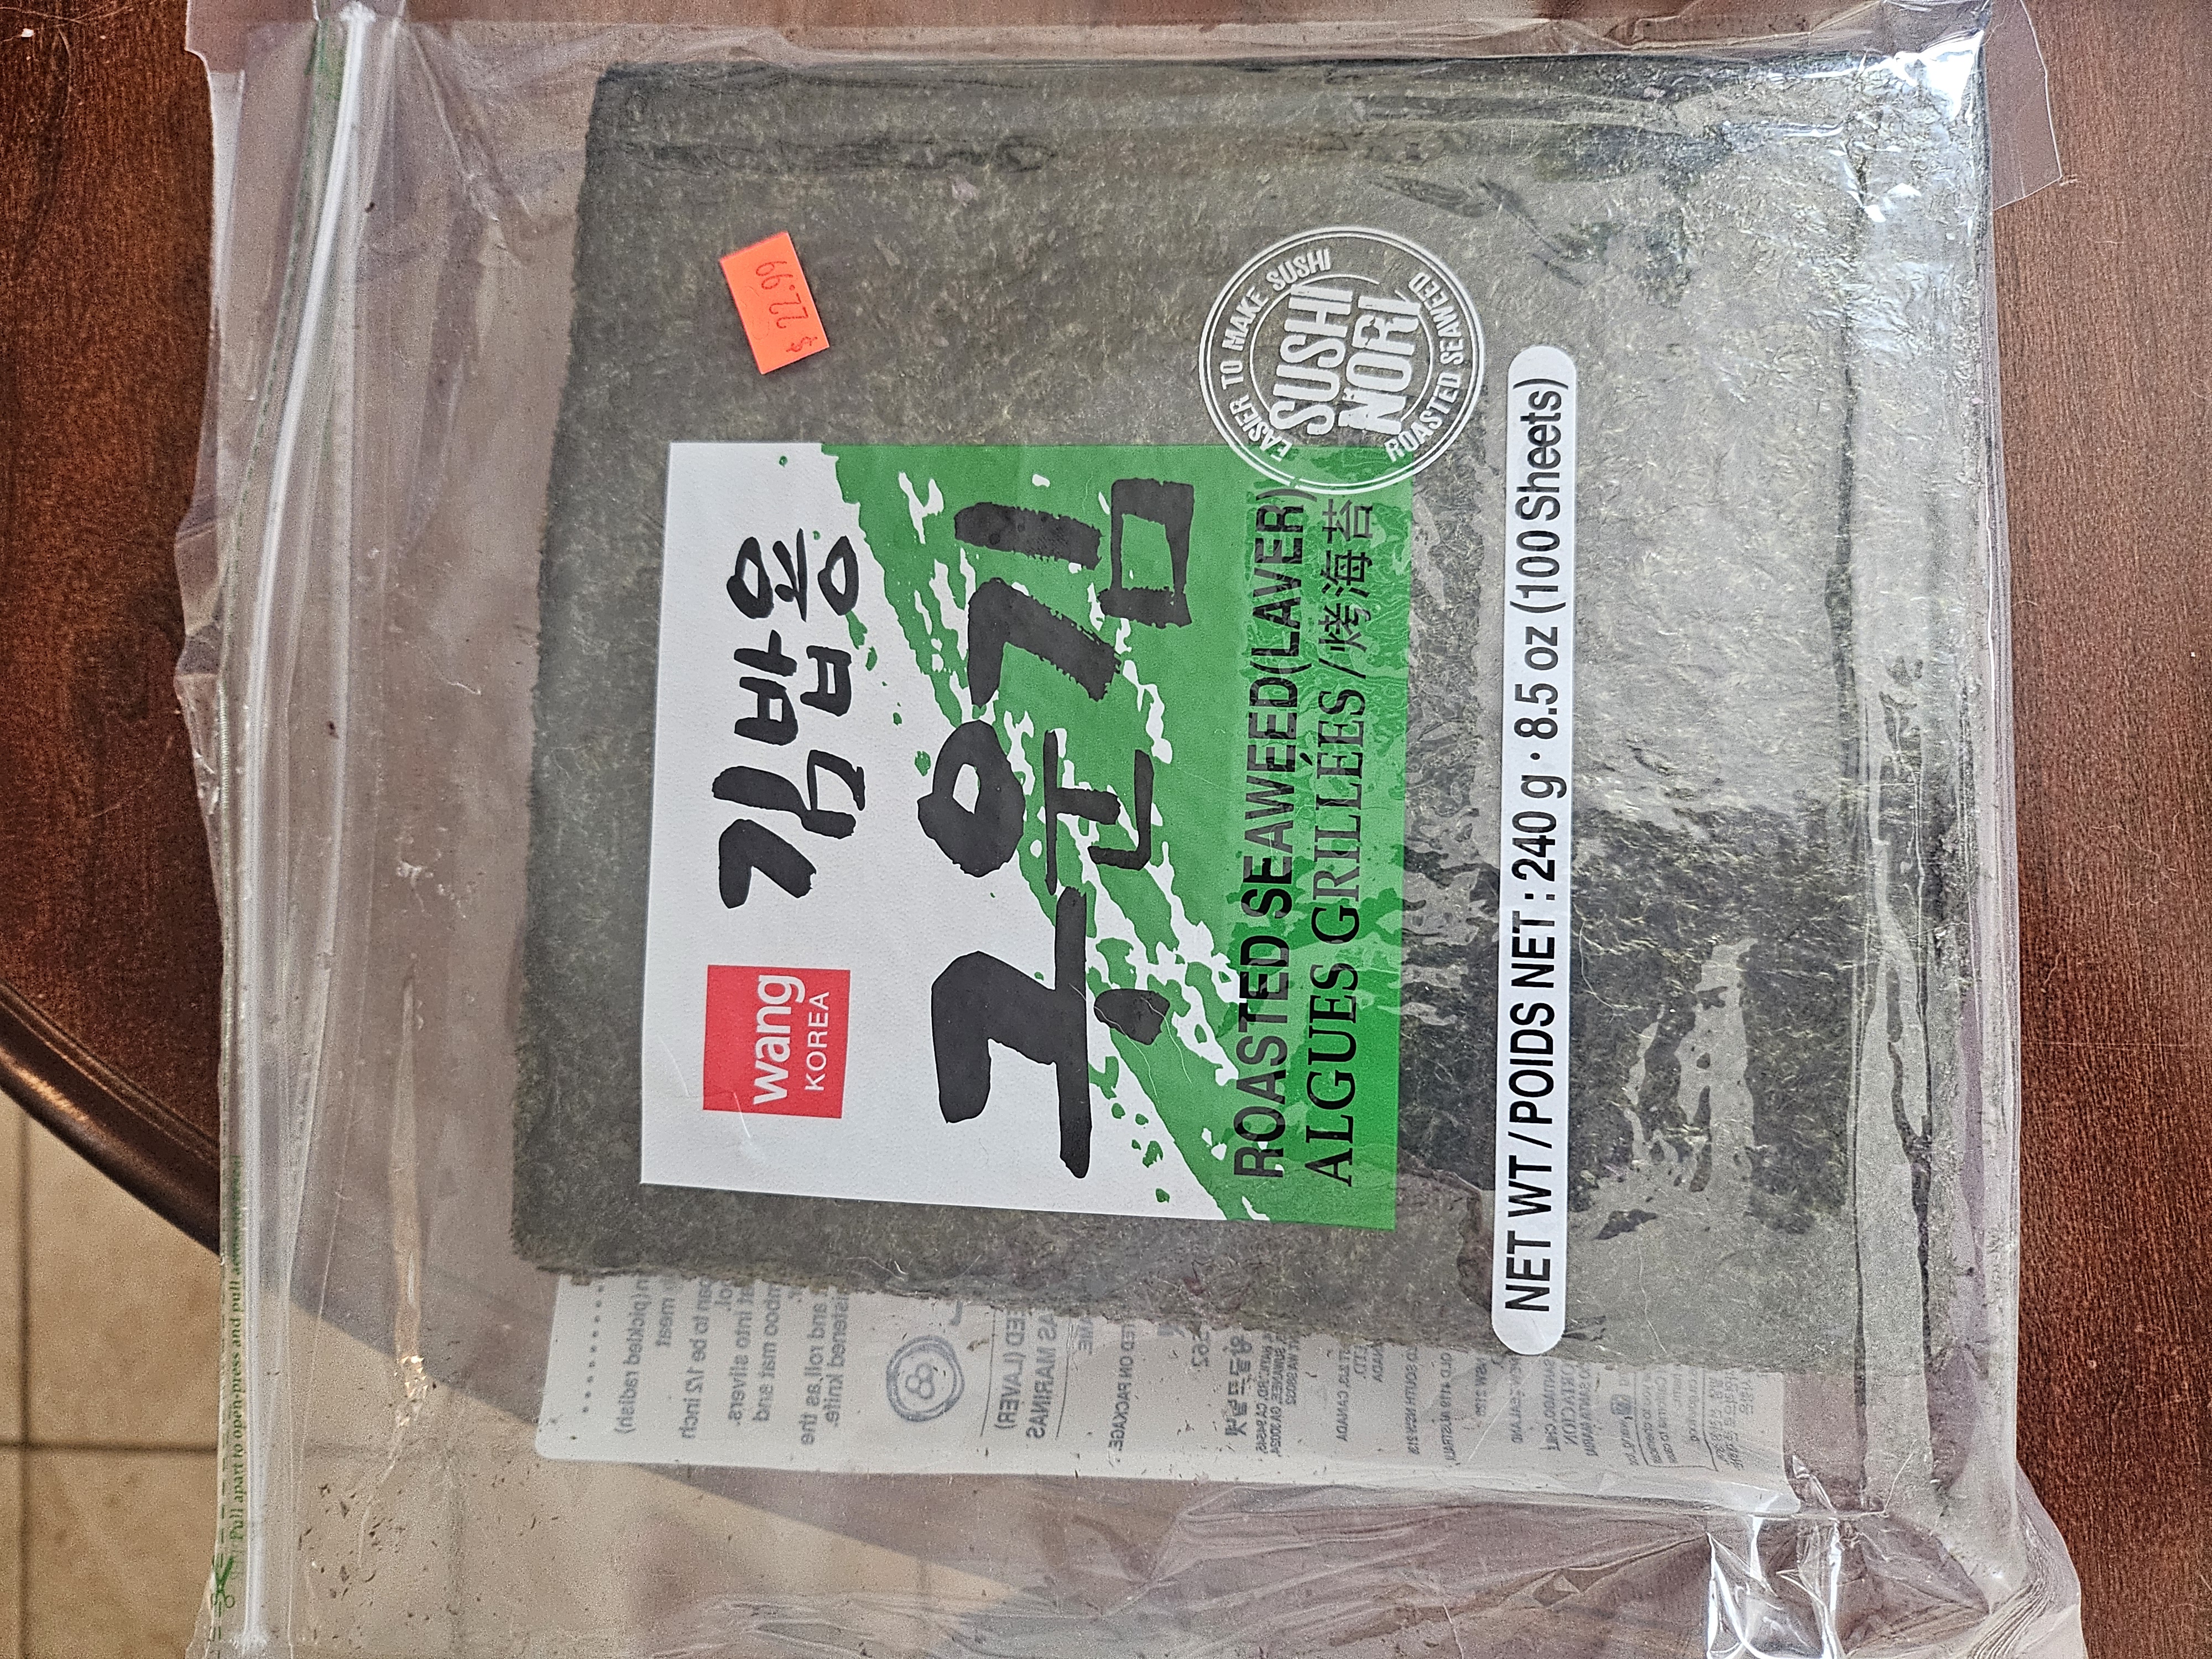
Laver/seaweed/nori; get the whole sheets. Do not buy those pre-cut ones that come in snack packs. You might need to source these from an Asian grocery store because I don't ever recall seeing these in the international foods section.
-
Mirin (optional)
- Ponzu (optional)
Smartphone-Friendly Ingredients List
☐ 1 bunch of spinach ☐ garlic (6 cloves if peeled, 4 if fresh) ☐ 1 thick carrot, or 2 regular carrots ☐ 2 cups medium grain/sticky rice ☐ sesame oil ☐ 1 pack firm tofu ☐ soy sauce ☐ sesame seeds ☐ 1 pack laver/seaweed/nori sheets ☐ danmuji ☐ seasoned burdock root ☐ mirin (optional) ☐ ponzu (optional)
Instructions
Filling 1: Carrots
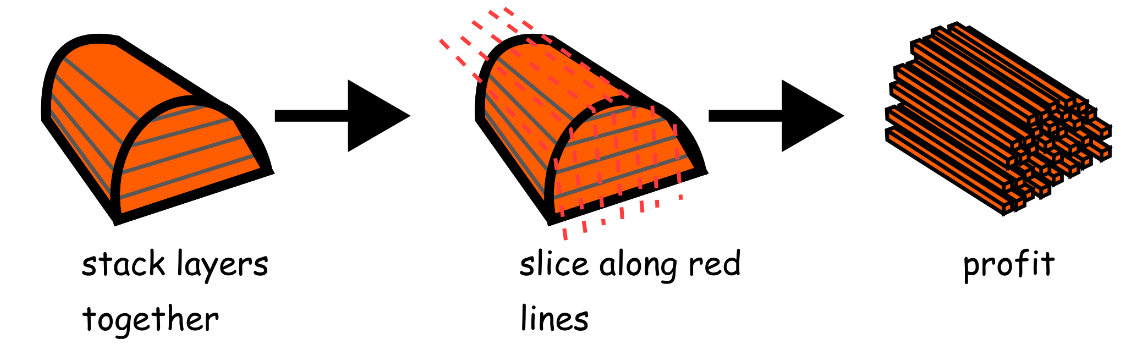
Julienne the carrot(s). If you want any technique guides, what I've found the easiest to do is I'll first cut the carrot into about 4 pieces:

Then each piece, I cut into layers, lengthwise:

Finally, I stack these layers on top of each other and slice across them to create the little matchsticks:
Put the carrot slices in a bowl and salt lightly. The purpose of this step is to "sweat" the carrots and draw out as much moisture as possible. Set it aside and go do something else for at least 30 minutes (you can make one of the other fillings, for example).
Pour out any water that came out of the carrots while you were sweating them and drizzle some sesame oil in a pan and bring it to temperature. Toast the carrot strips in the pan for around 5 minutes, or until they start becoming soft. Move them around every once in a while so that they don't burn or start caramelizing. Once you're done, remove from pan and sprinkle some sesame seeds on top. You can now either fridge this or use it right away (after it's cooled down, of course).
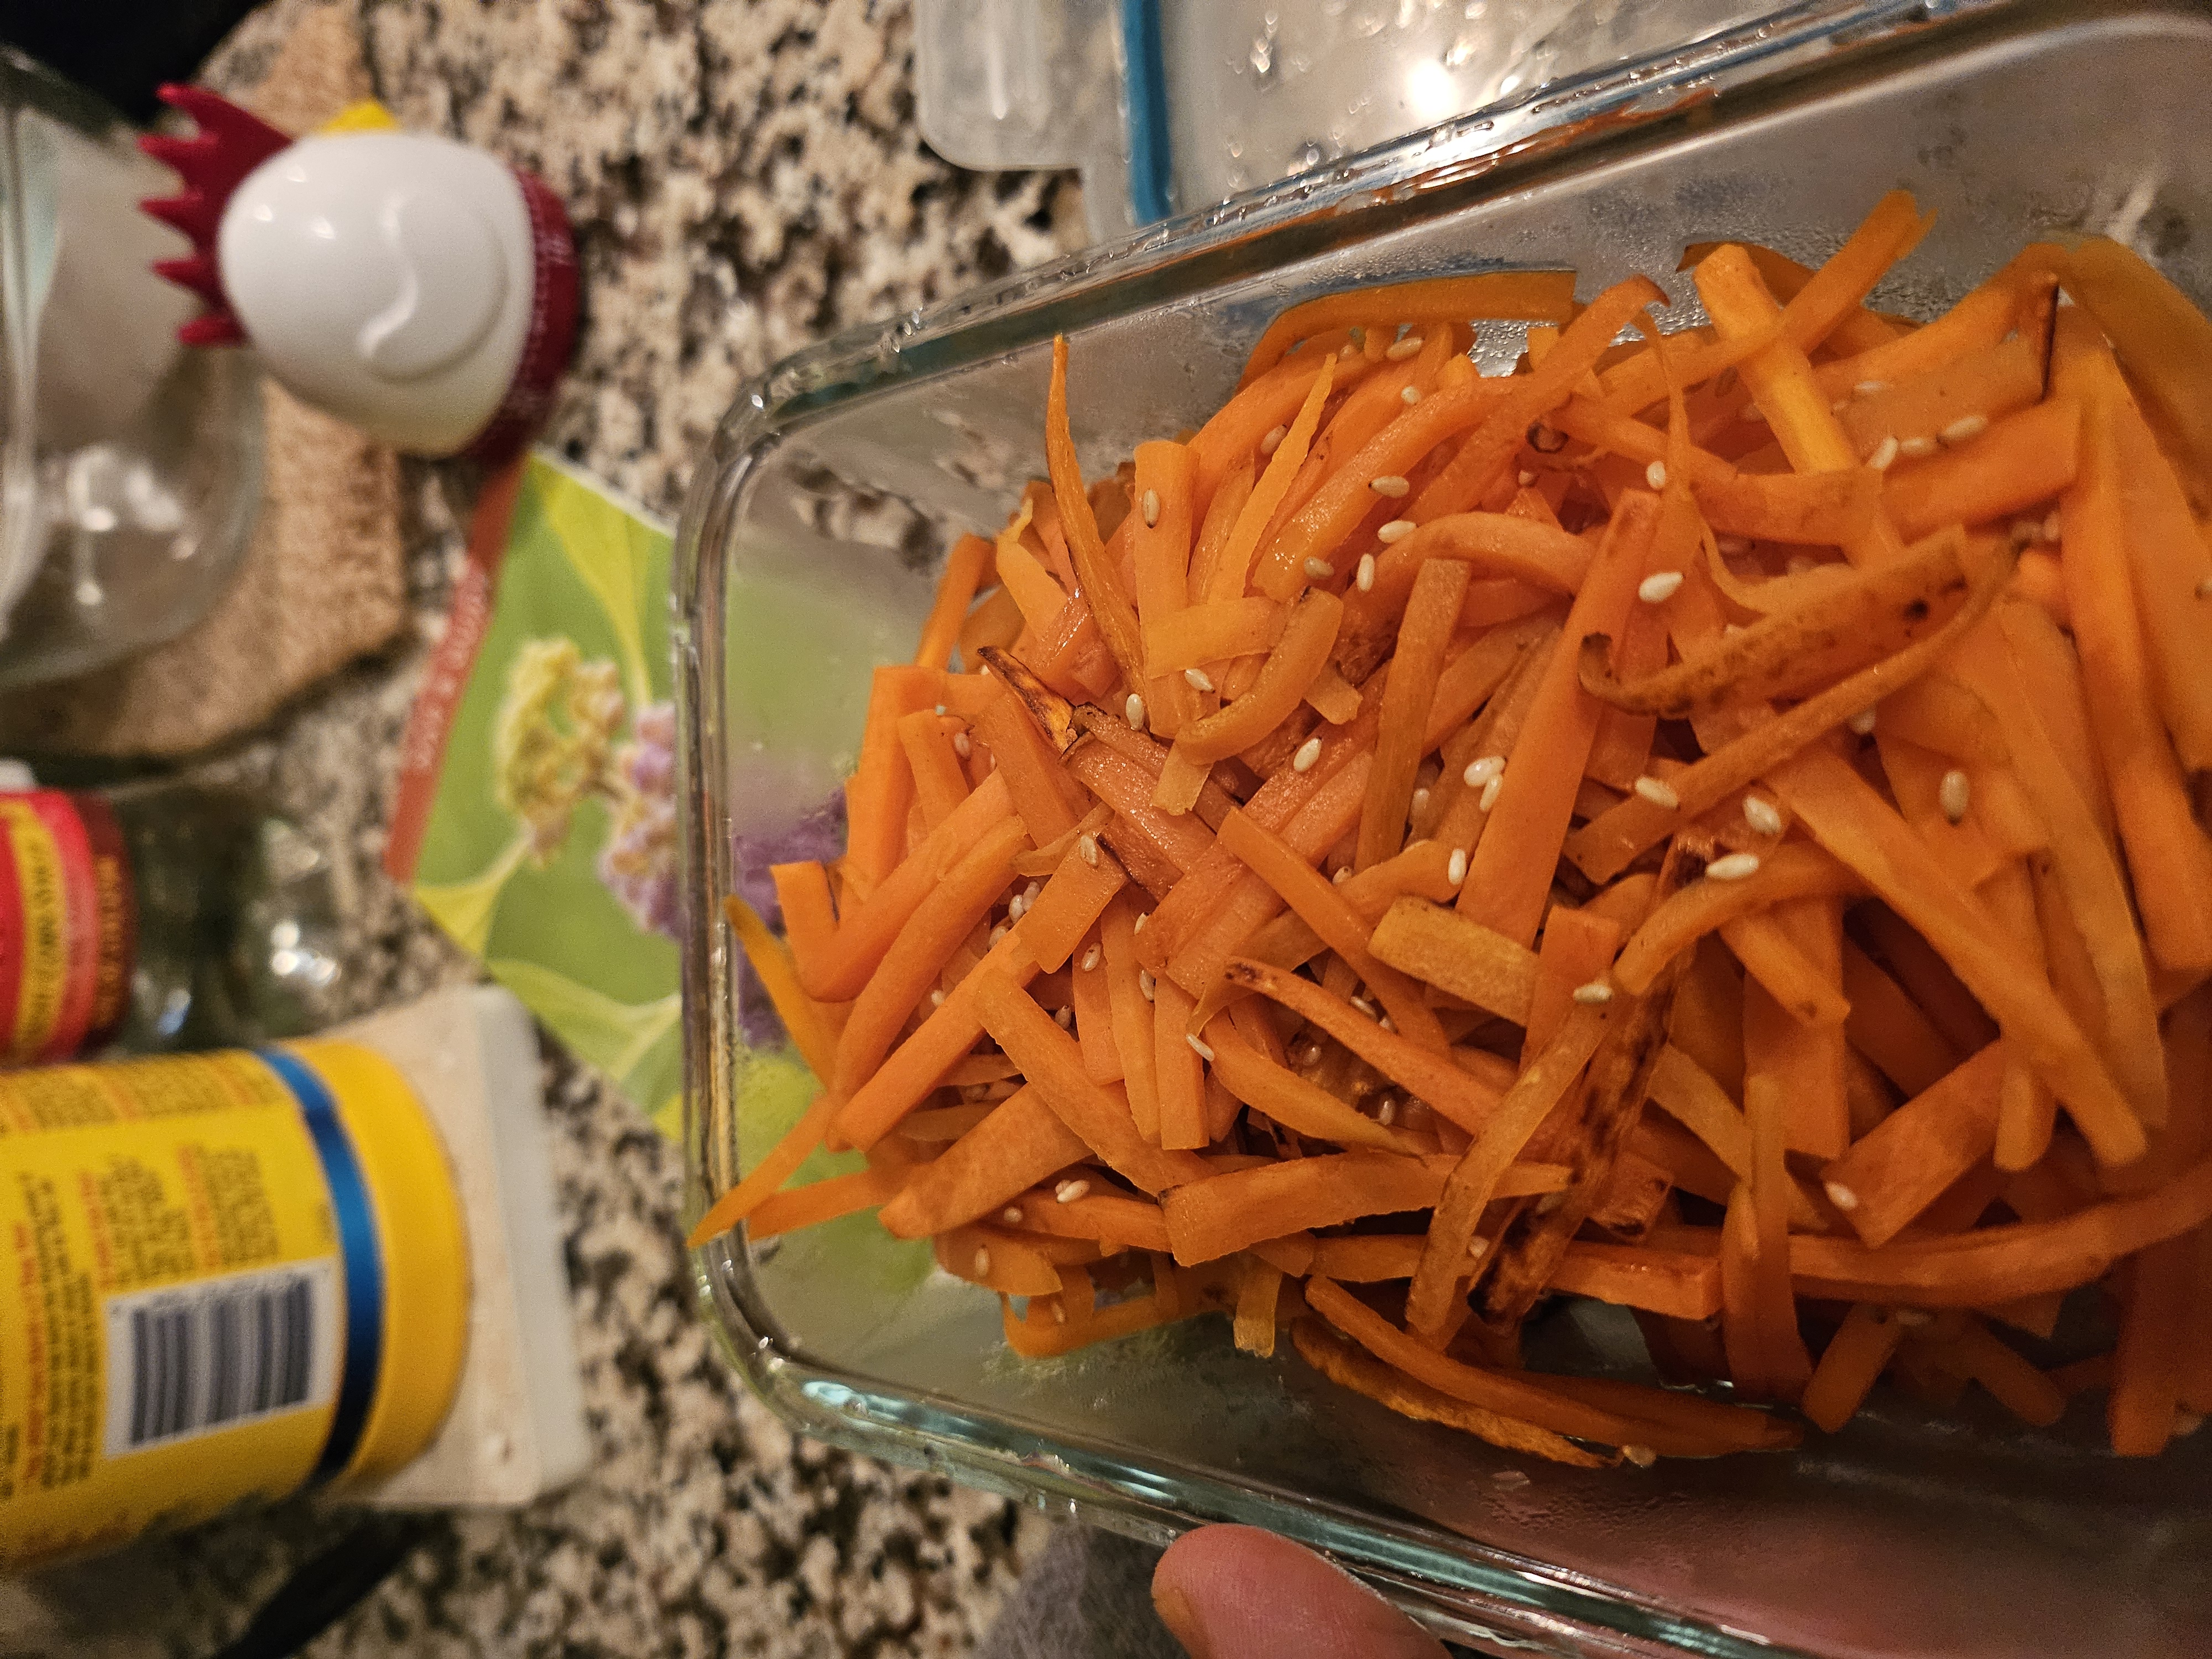
pause to admire your handiwork
Filling 2: Spinach
Fill a large pot with enough water to submerge all your spinach into (like halfway). Bring it to a boil.
Dump the spinach in and leave it there for about 30 seconds, or until all the leaves have turned bright green (timing is not important, but don't just put it in and walk away).
Dump the hot water down the drain and run the spinach under cold water until the bundle is cool enough to handle by hand. Once the spinach is cooled down, drain out as much water as you can. Gently squeeze the bundle to dry it out.
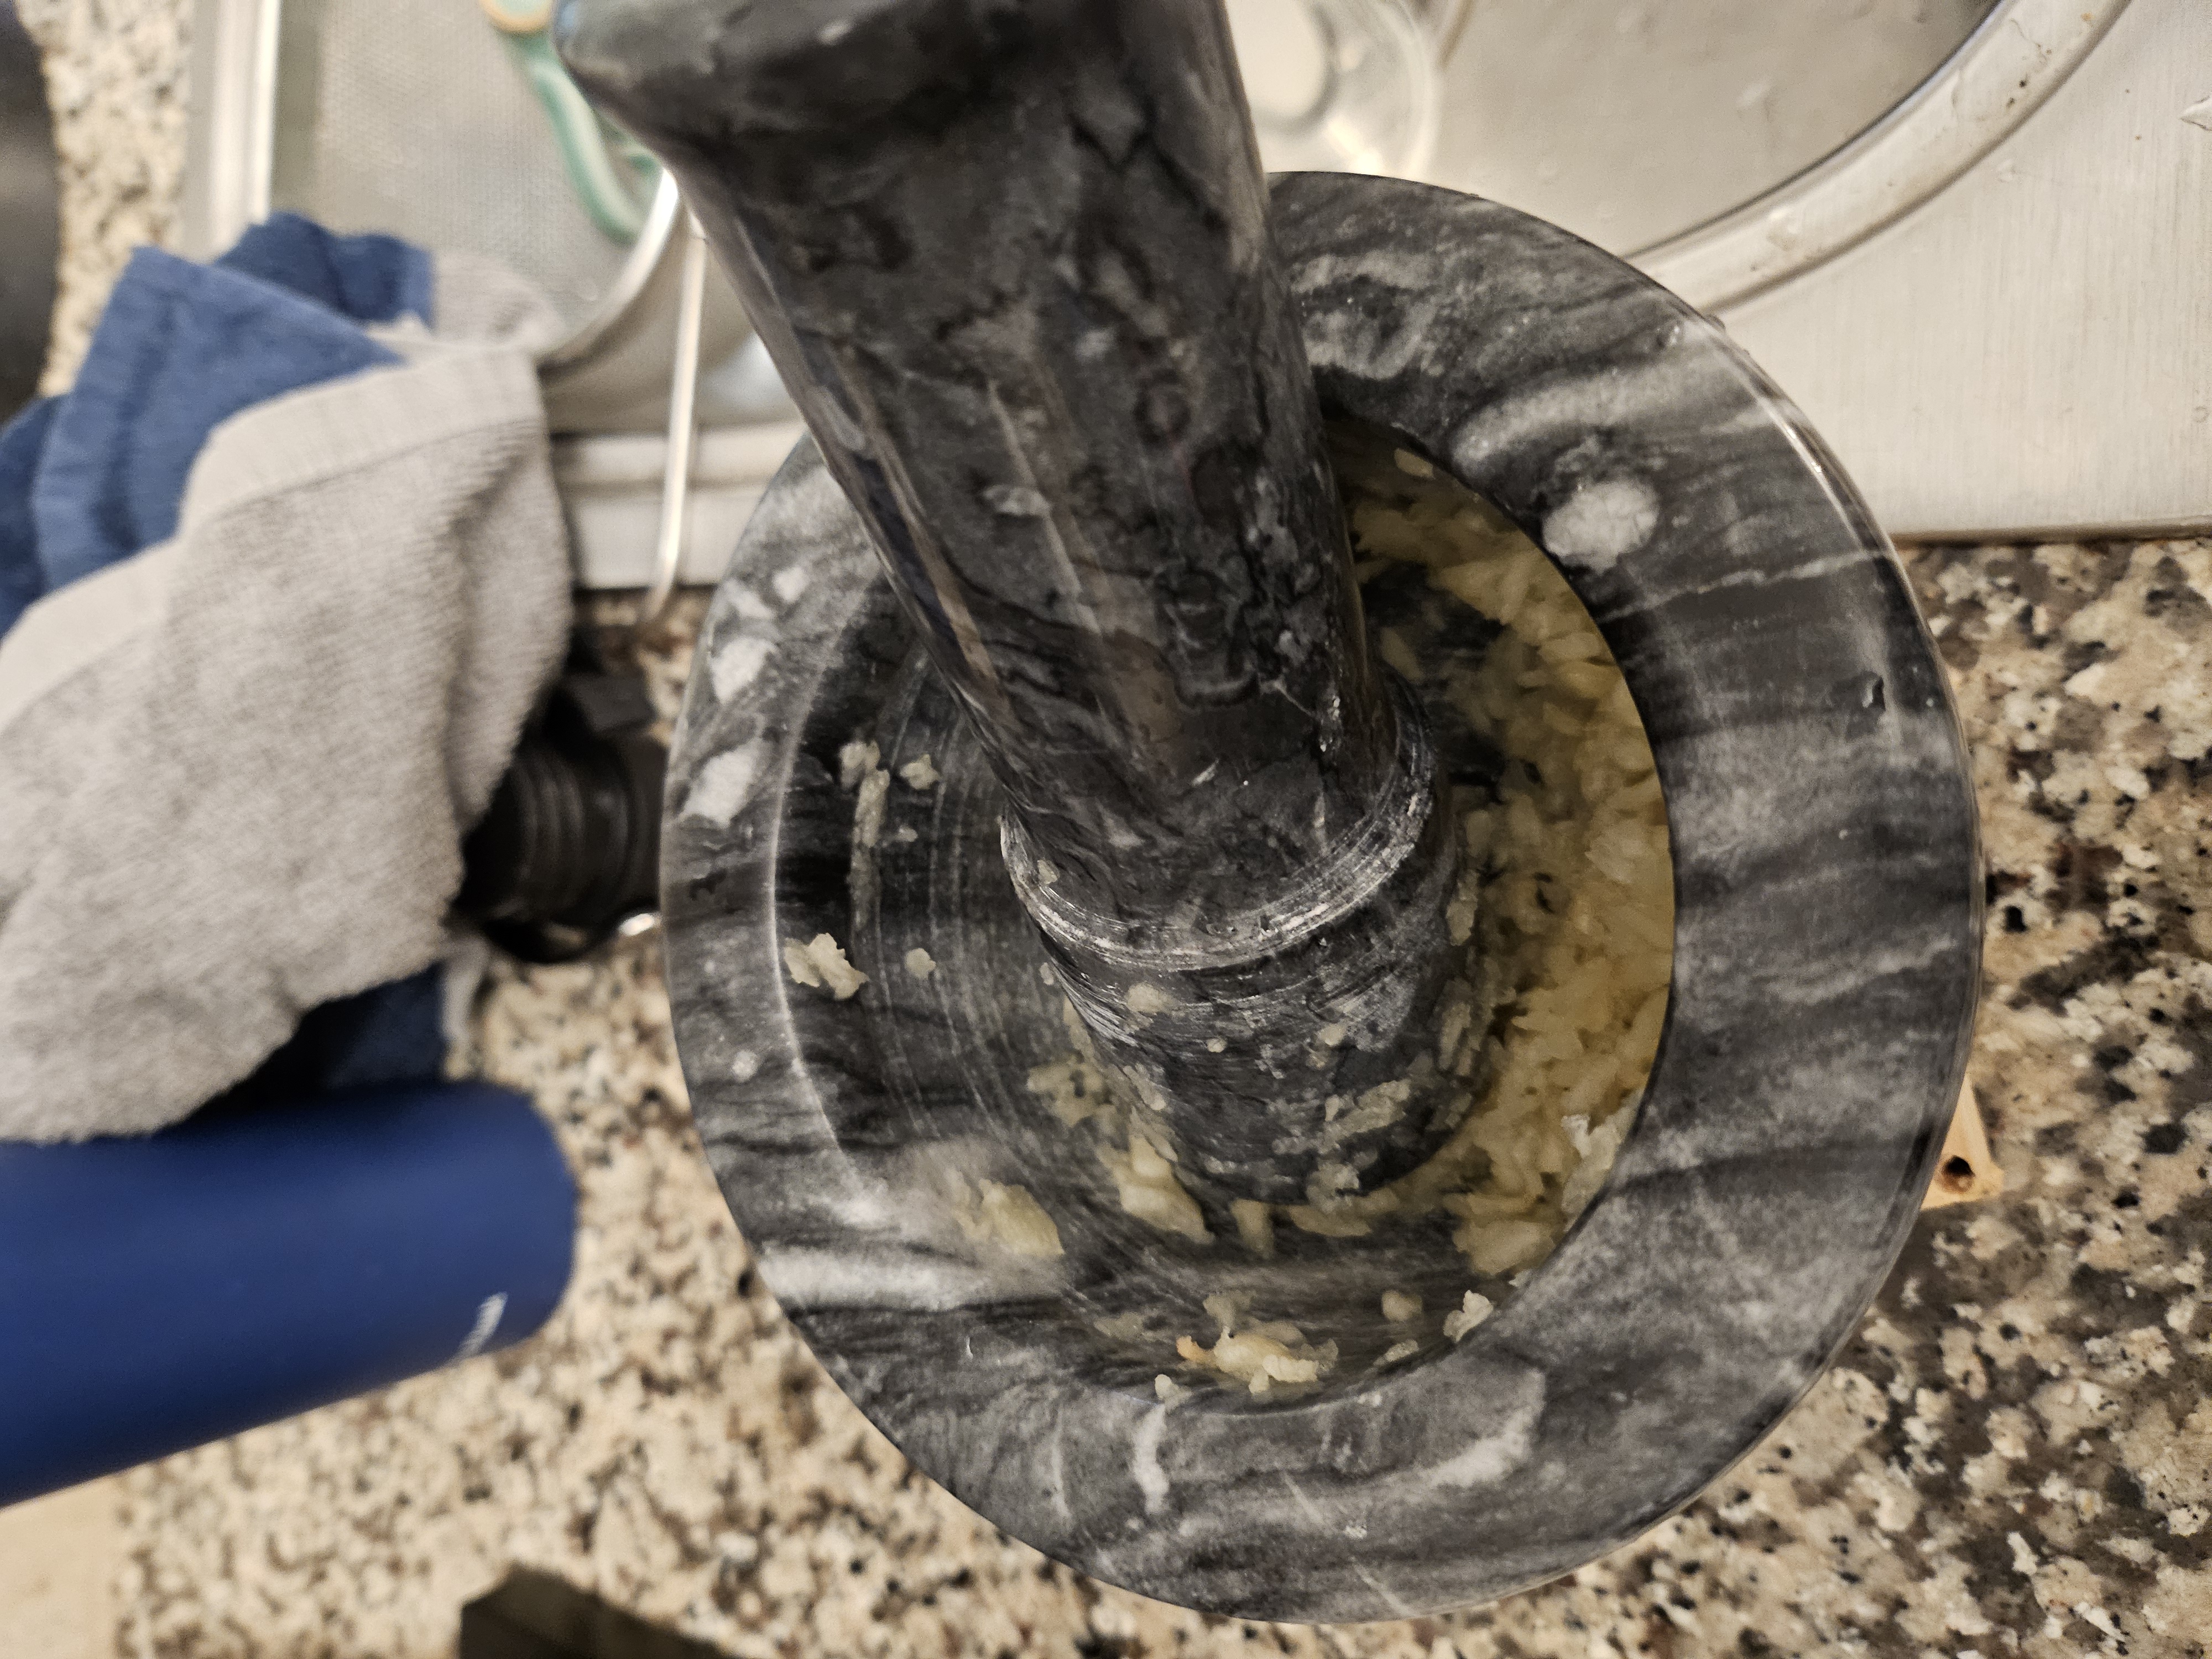
Mince/mash the garlic down into tiny pieces. I used to mince by knife but now I just pound with mortar and pestle.
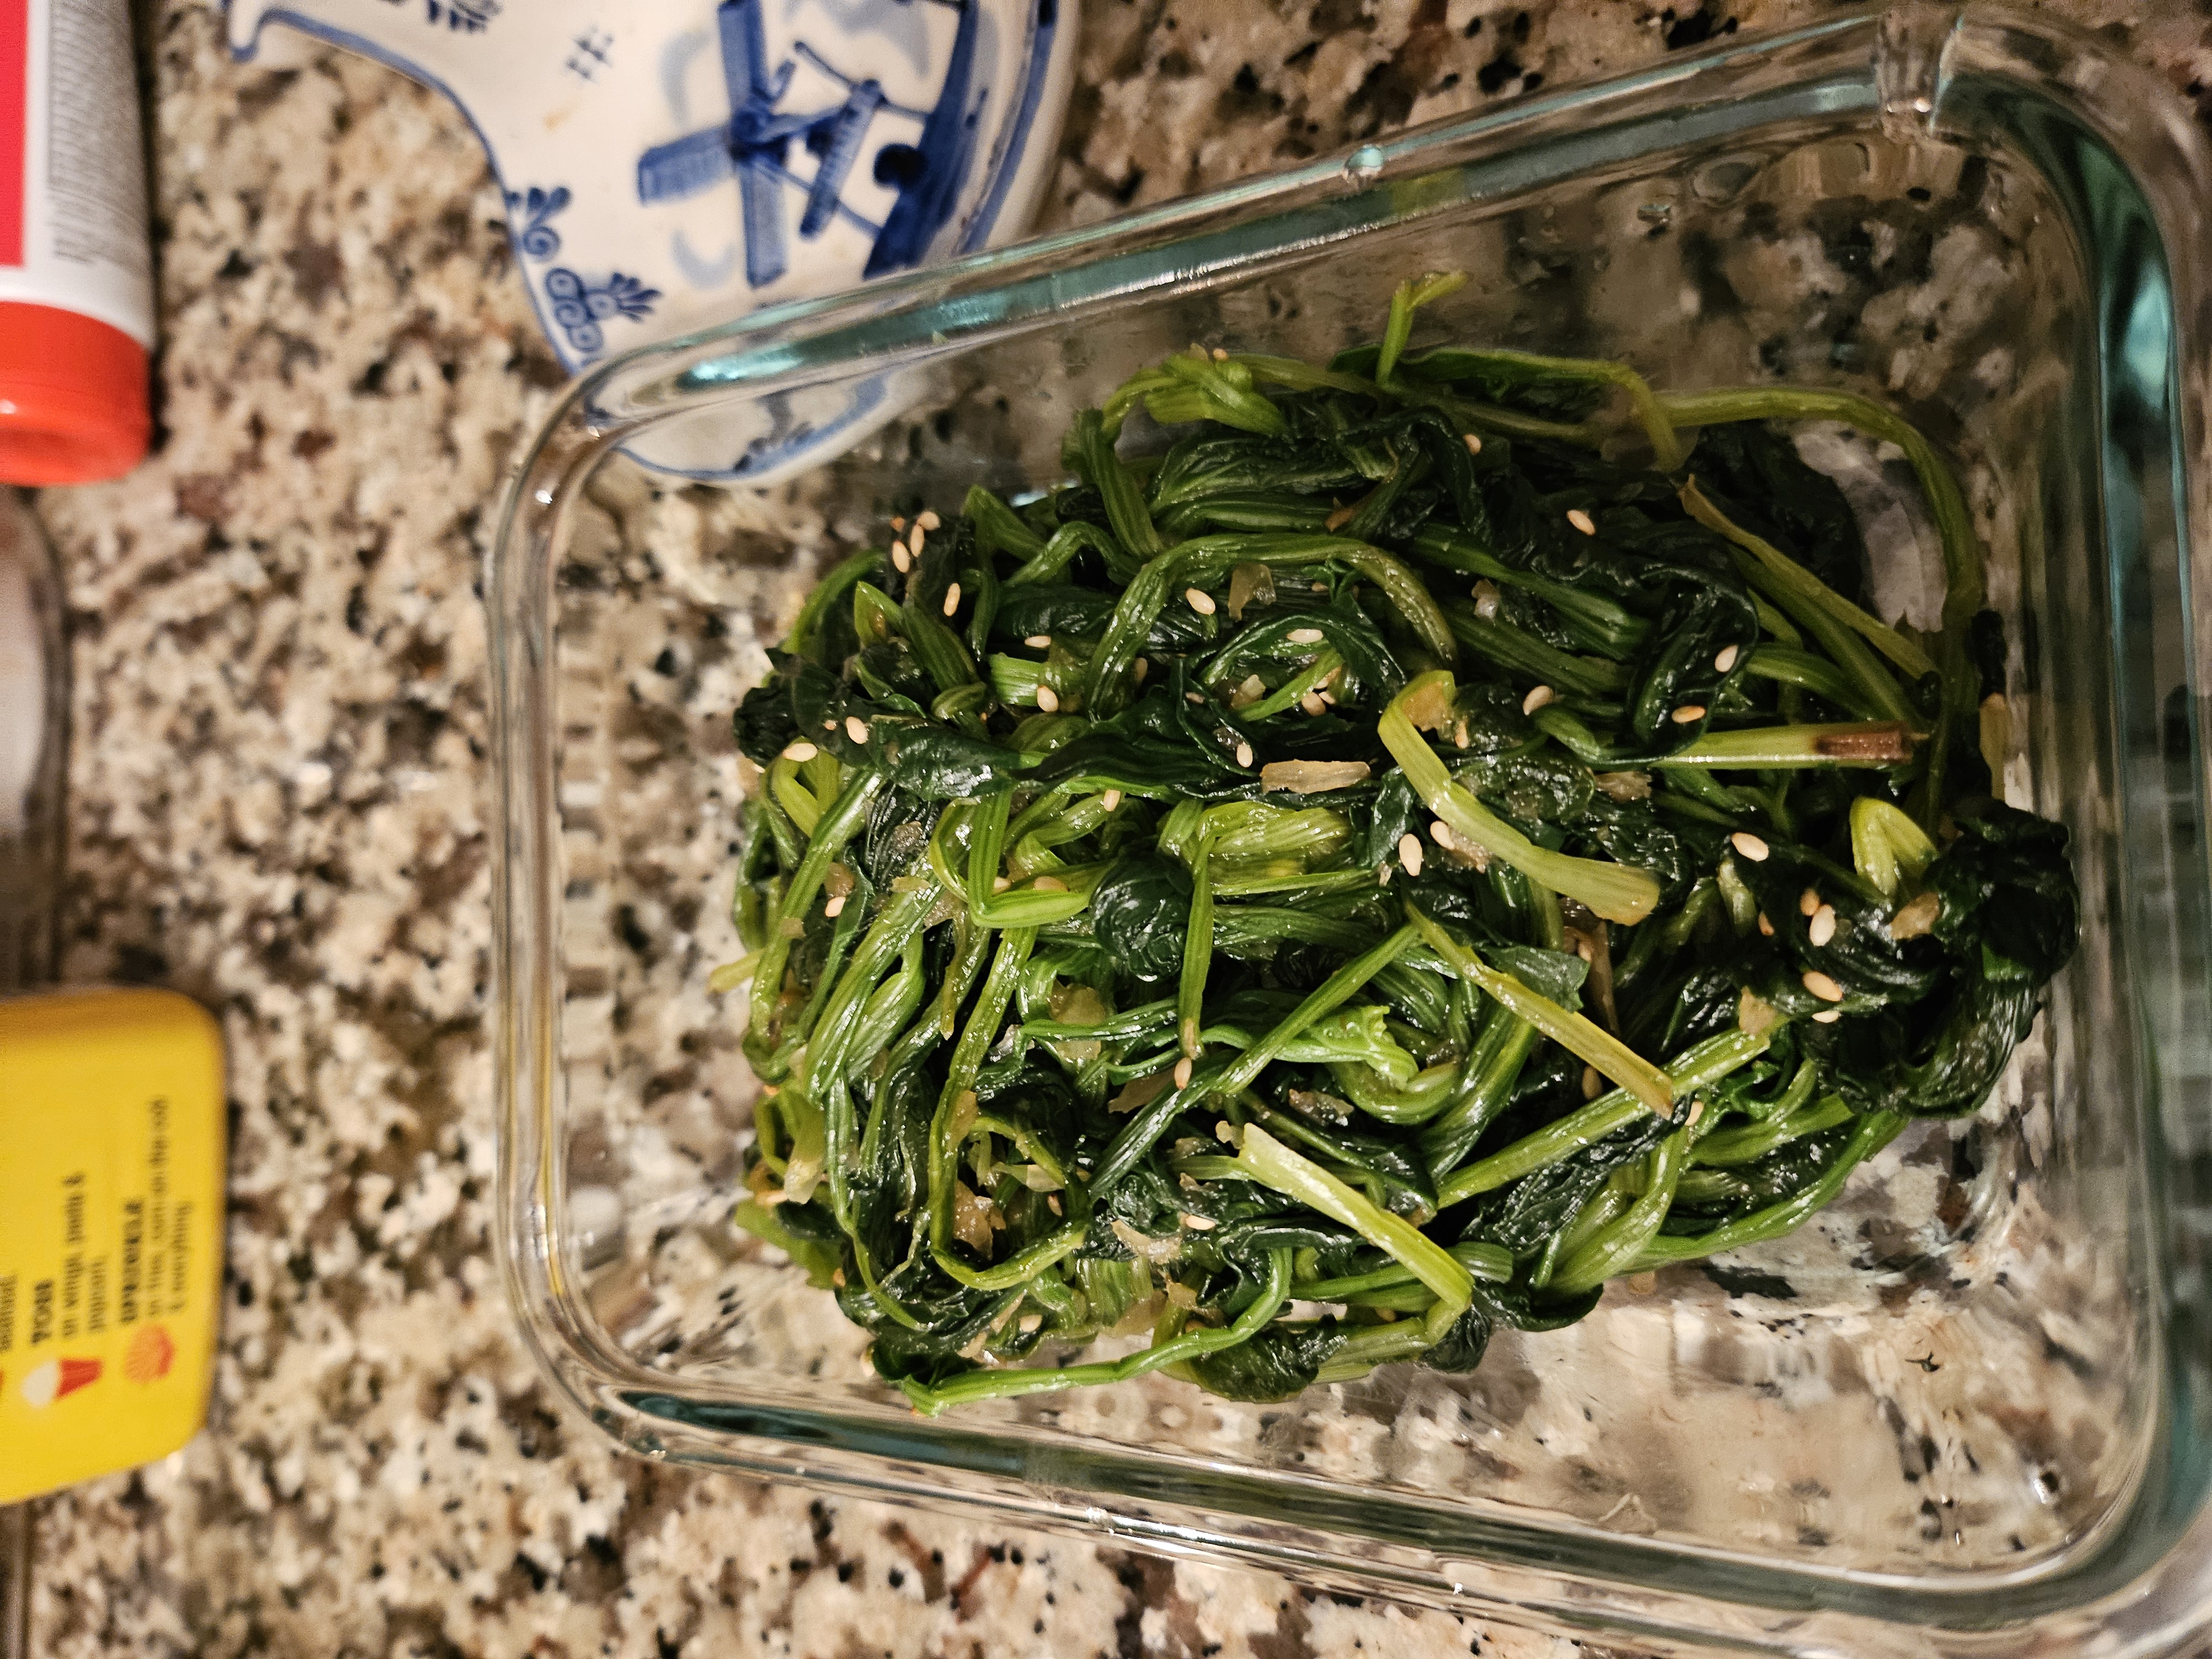
Mix in the minced garlic into the spinach and then mix in the soy sauce and sesame oil to taste. I think a good place to start is around 2 tablespoons of soy sauce and 1 teaspoon of sesame oil (1 teaspoon is 1/3 of a tablespoon, btw), and then adjust by taste. Mix everything around by hand, and then top off with a few shakes of sesame seeds. Store in the fridge until needed. It should look something like this:
Filling 3: Tofu
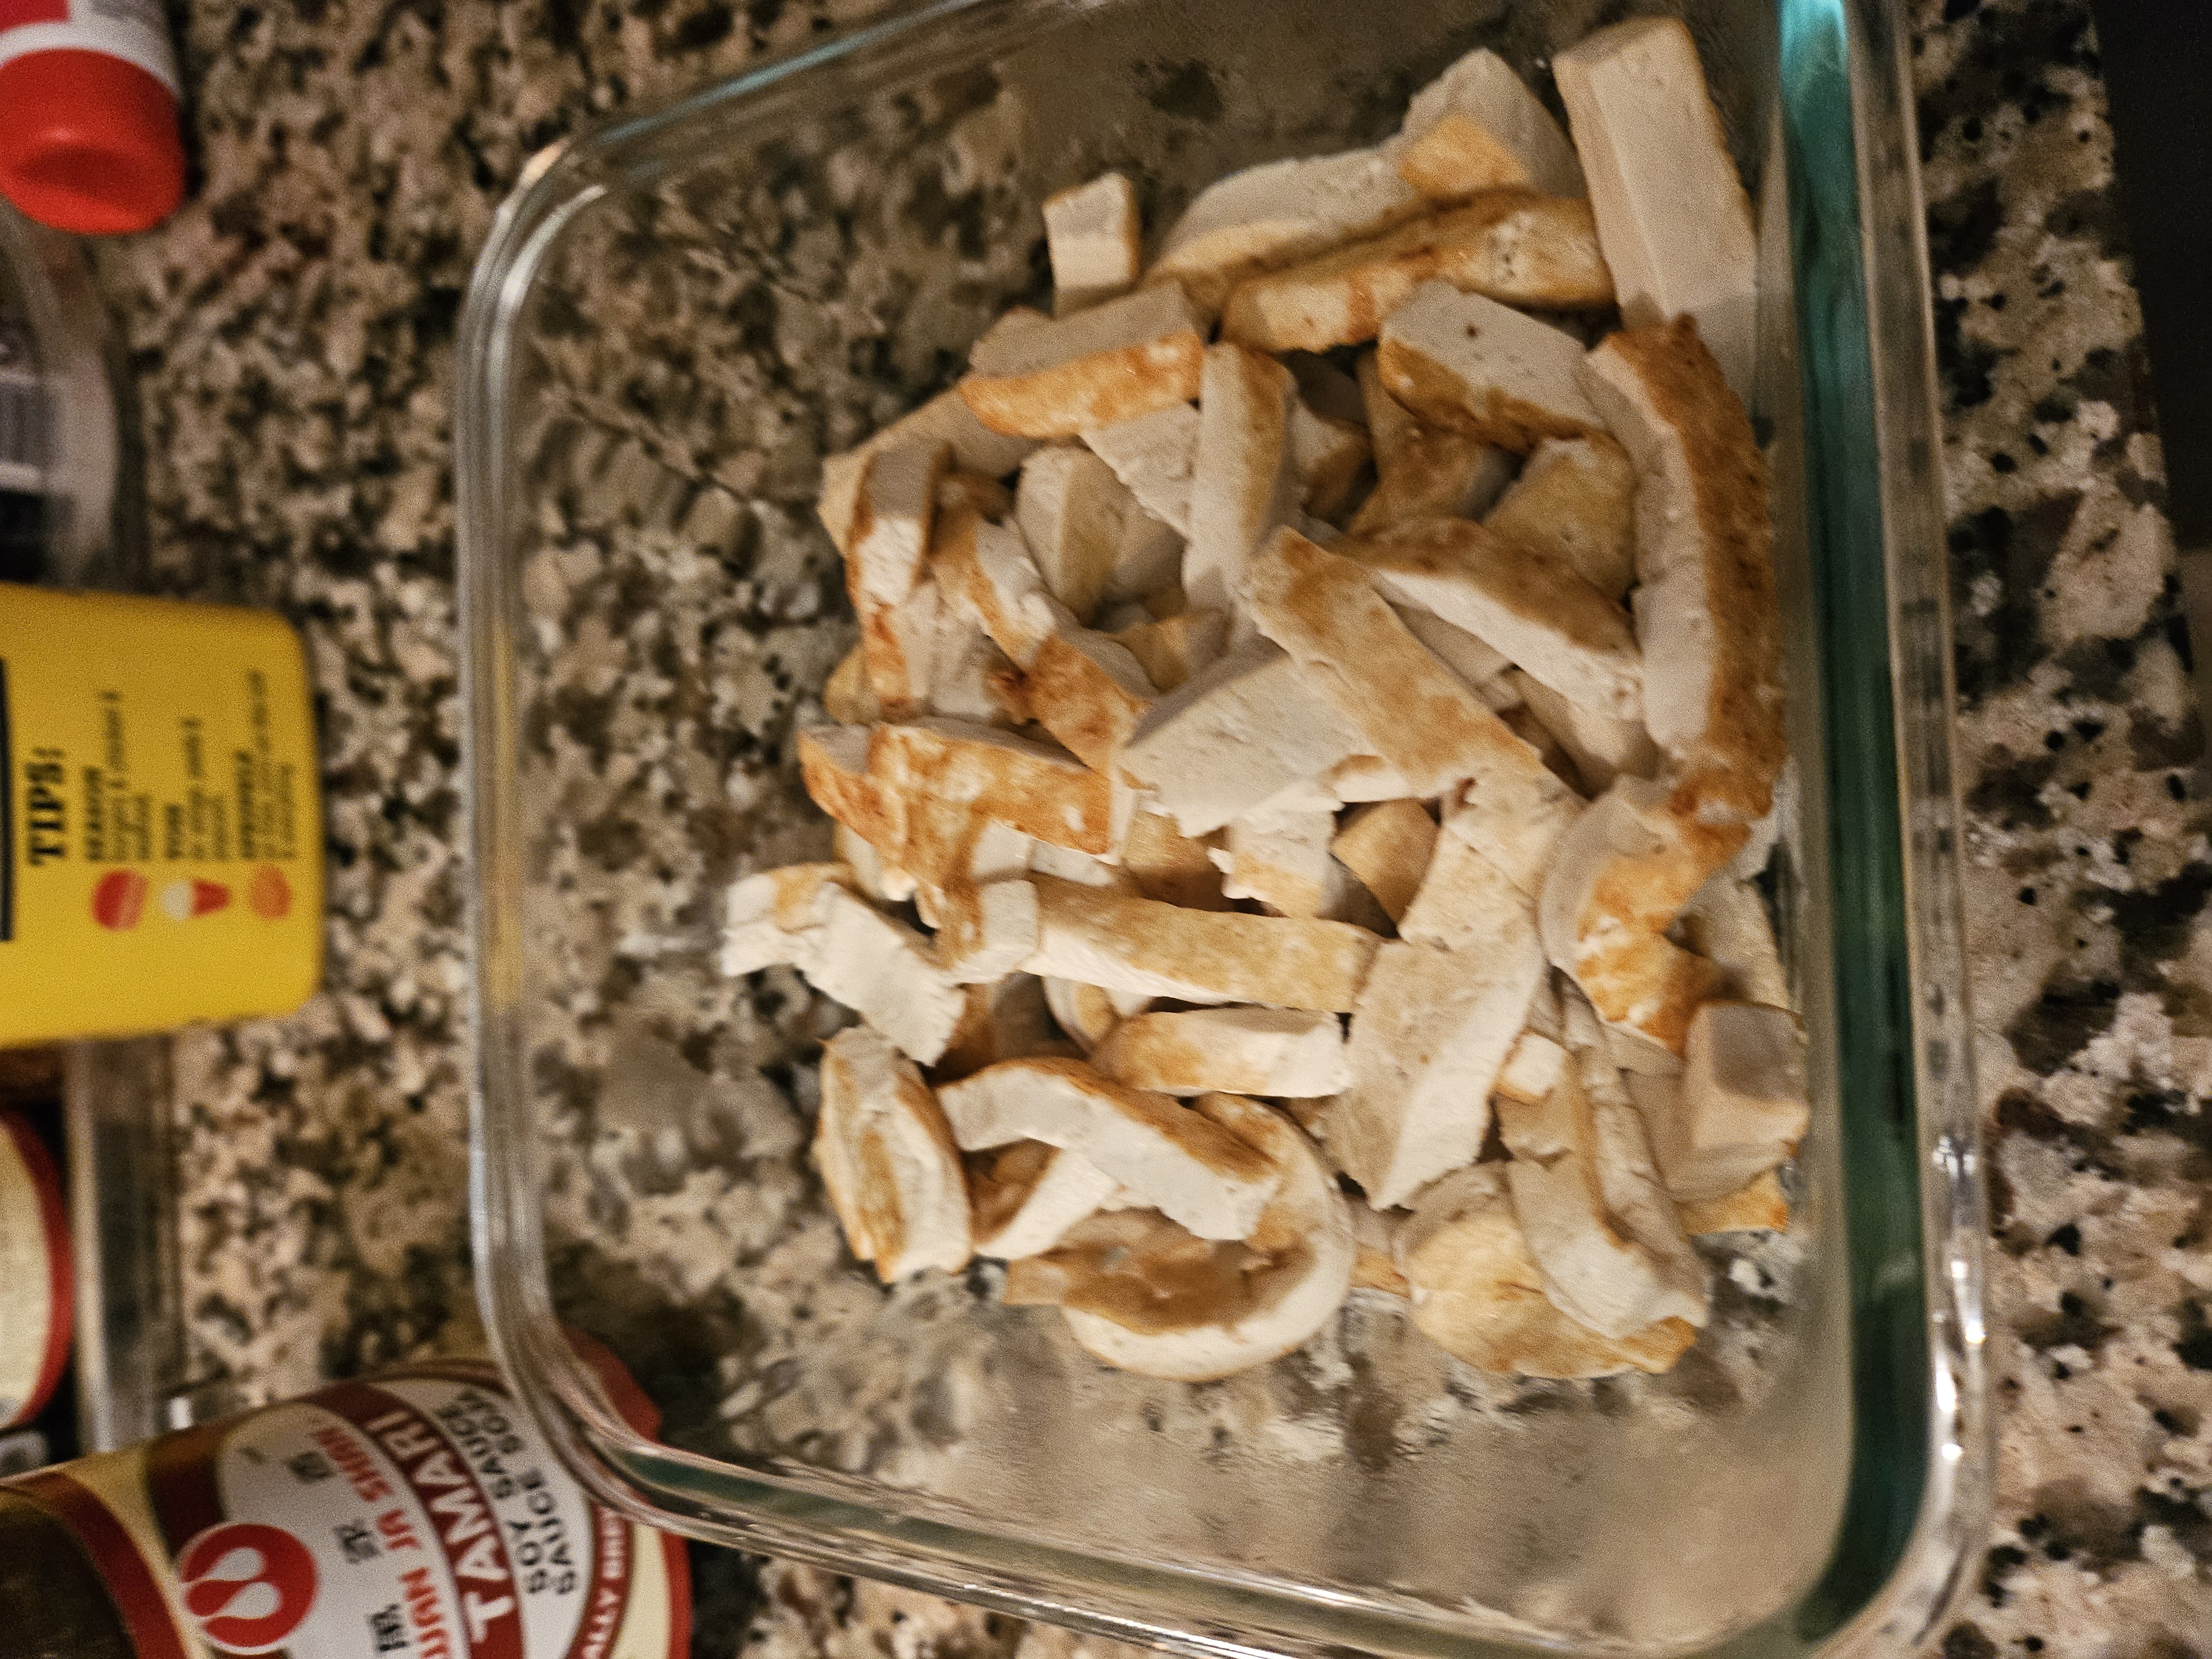
This is pretty straightforward. Just cut your tofu into long, rectangular strands, about 1/4" x 1/4", but of course no need to be super precise. Pick a size that just looks "right" to you and go with it.
Drizzle a little sesame oil into a pan and let it get up to temperature. Put in the tofu and toast it for about... I want to say like 7 to 9 minutes each side. You're looking to develop a little bit of crust because that helps make everything a lot firmer, which is important once we start packing everything in and rolling up the kimbap.
If you have any ponzu lying around, I sometimes sprinkle a little bit on the pieces to give them some flavor. Some people like just the taste of tofu, though, so up to you. (also, tofu has flavor, but only for those who have the wisdom to perceive it)
Filling??? 4: Rice
Kimbap literally means "kim" (the seaweed laver/nori) plus "bap" (rice). It feels weird calling rice a filling here because to me it's kind of like calling a beef patty a burger filling.
Like I said, use warm rice when making kimbap. Fresh rice is best, but if you have fridge rice, just warm it up in the microwave. You might need to add a little splash of water to get the grains to moisten up a little bit though.
You can skip the rest of this section if you're already sick of making kimbap. I'm just going to detail how to make the rice a little "fancier" by making it taste a little bit more like sushi rice.
Put the rice you're going to use into a bowl, and add mirin, salt, and sesame oil to taste. I really have no good numbers for you so you're going to need to do a lot of tasting. I think with 2 cups of rice, start with 5 to 7 shakes of kosher salt (or equivalent), 1 tablespoon of mirin, and 1 teaspoon of sesame oil. Again, I really need to emphasize with the sesame oil if you're using the high-quality stuff, you should be very sparing with it otherwise the taste can be overpowering. Just be cautious not to over-salt because there's no way to fix that with the rice, other than adding more rice.
Assembly
Get out all of your filling ingredients (carrot, spinach, burdock root, danmuji, tofu, rice), the laver/nori, and clear some space for you to roll your kimbaps. If you're legit, you'll have one of those bamboo mats that people use for rolling rolls (you've probably seen them at sushi restaurants), but I just use a sheet of parchment paper or even aluminum foil to help me roll my kimbap.
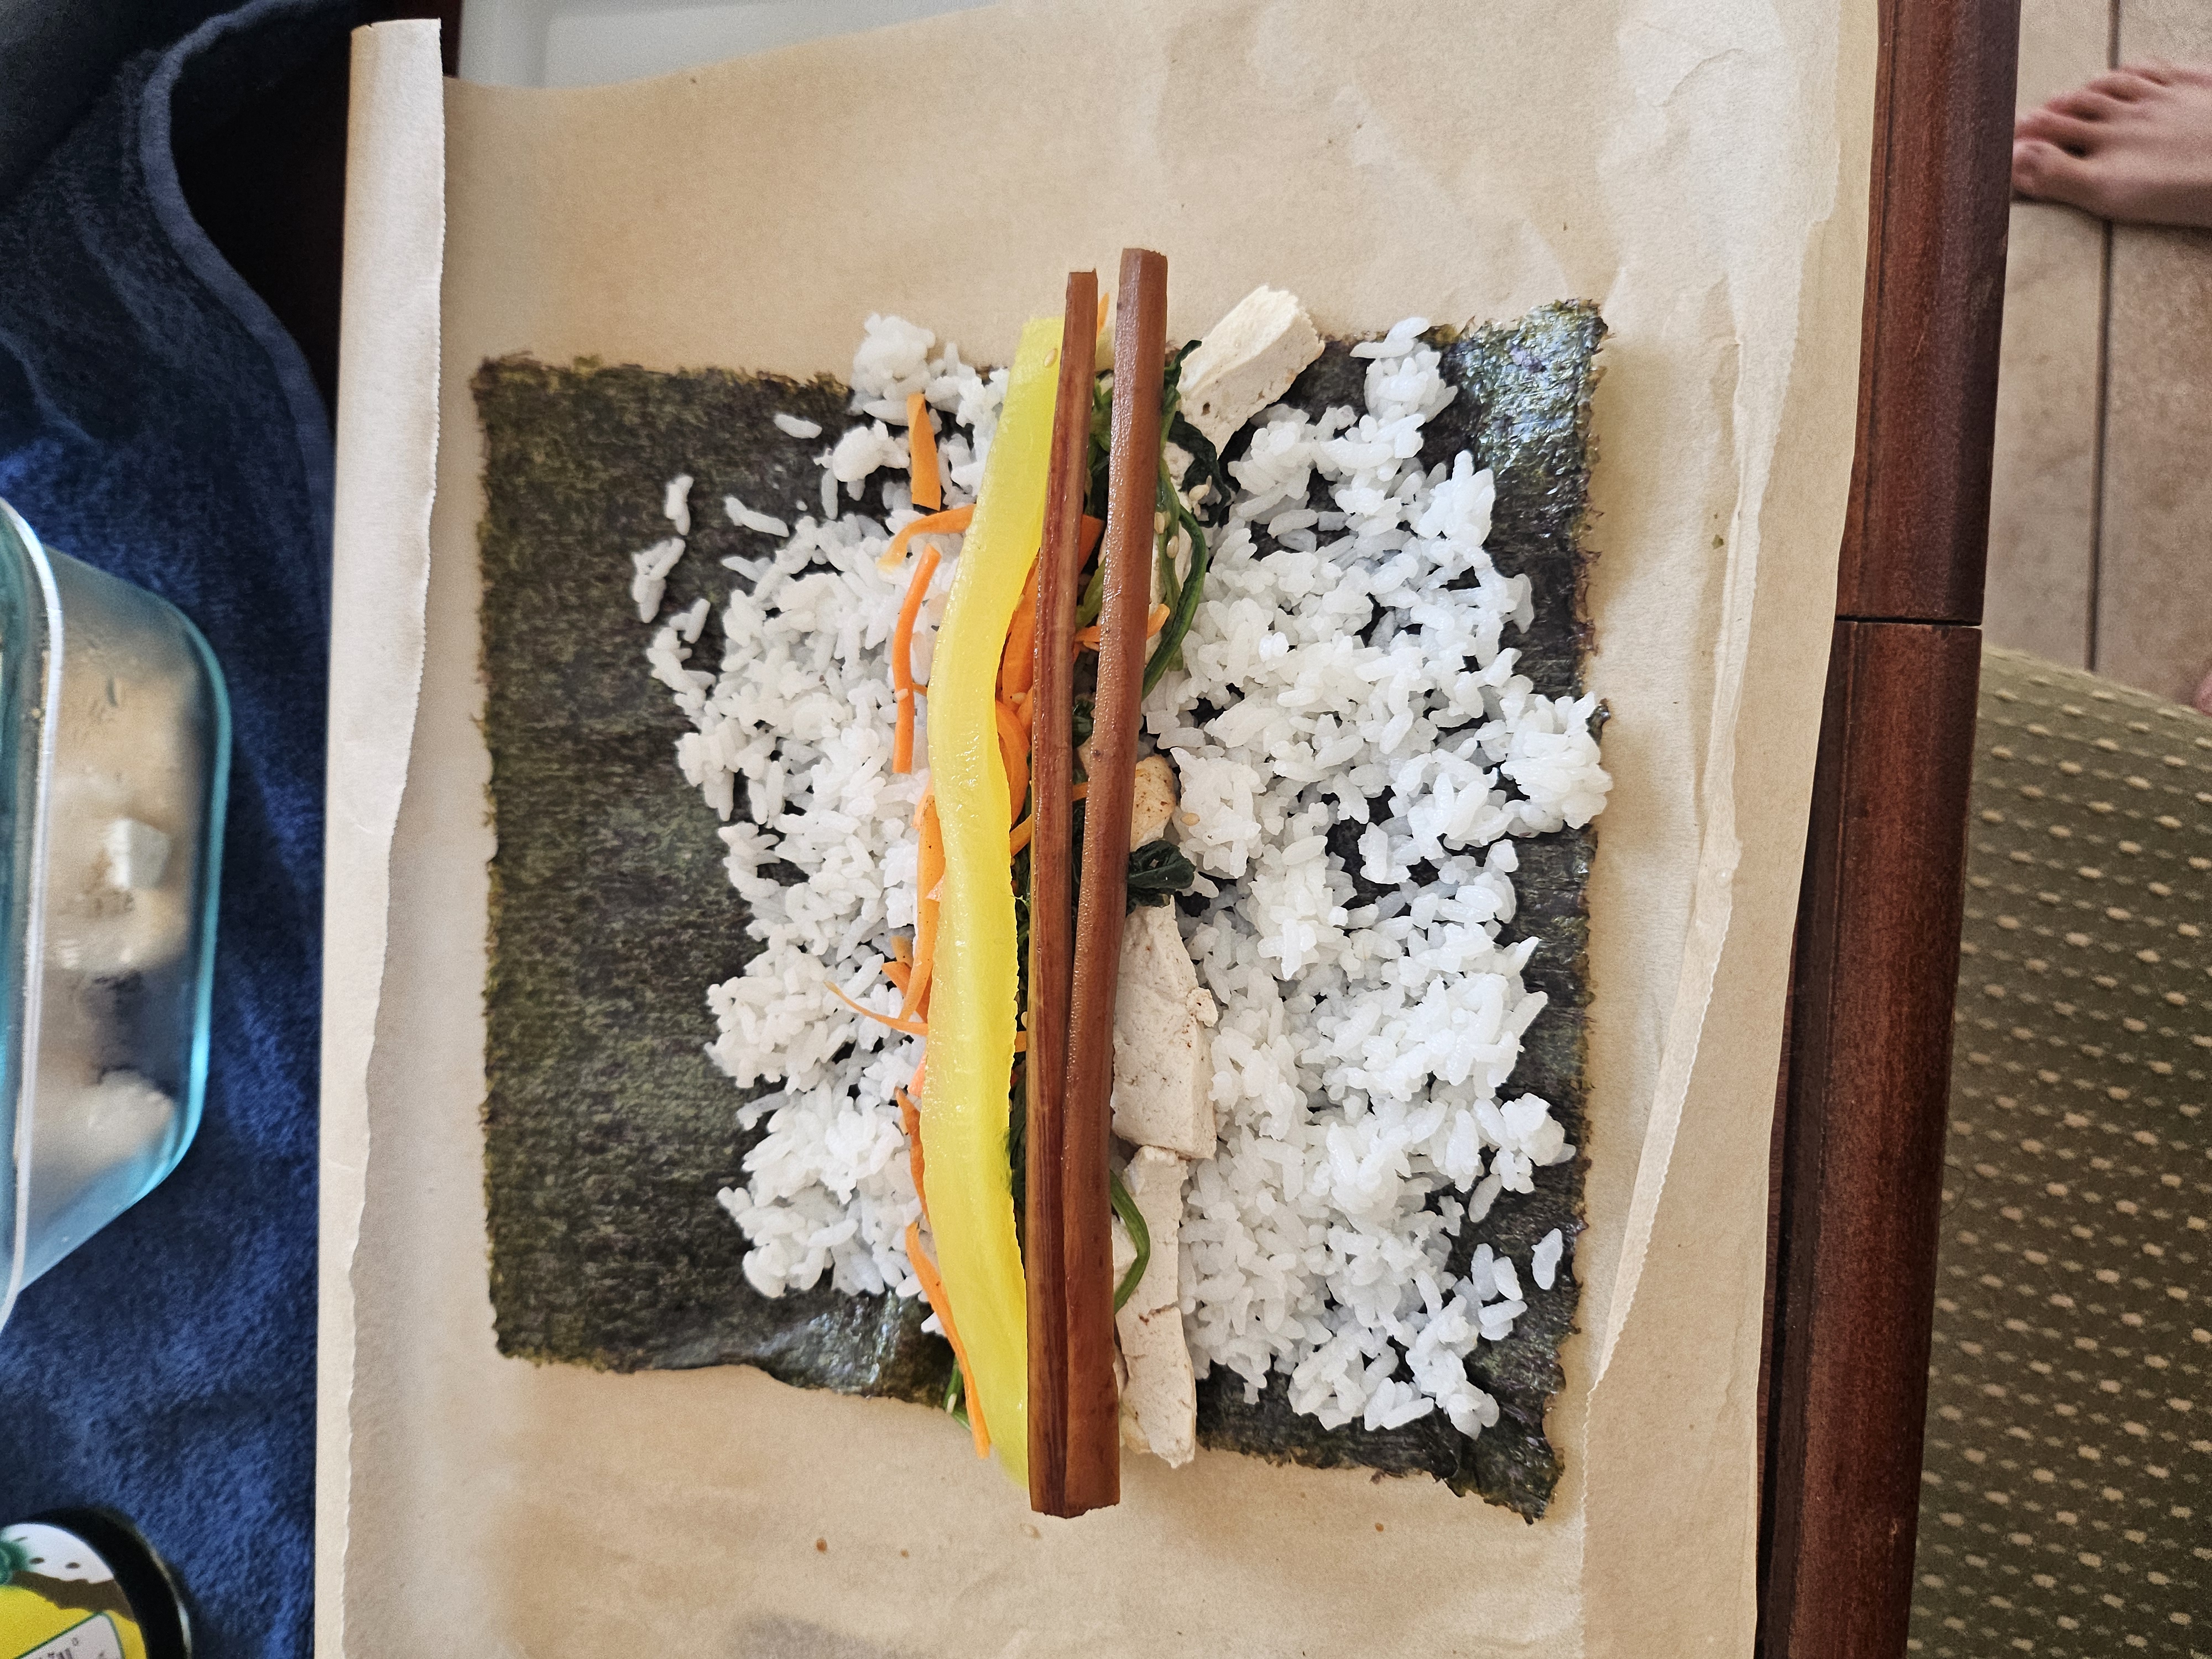
Put one sheet of laver/nori on top of your bamboo mat/roller helper and use a spoon to spread out a layer of rice over the nori. Try to make it about 2 to 3 grains thick. Leave about an inch of laver uncovered at the top. It should look something like this:
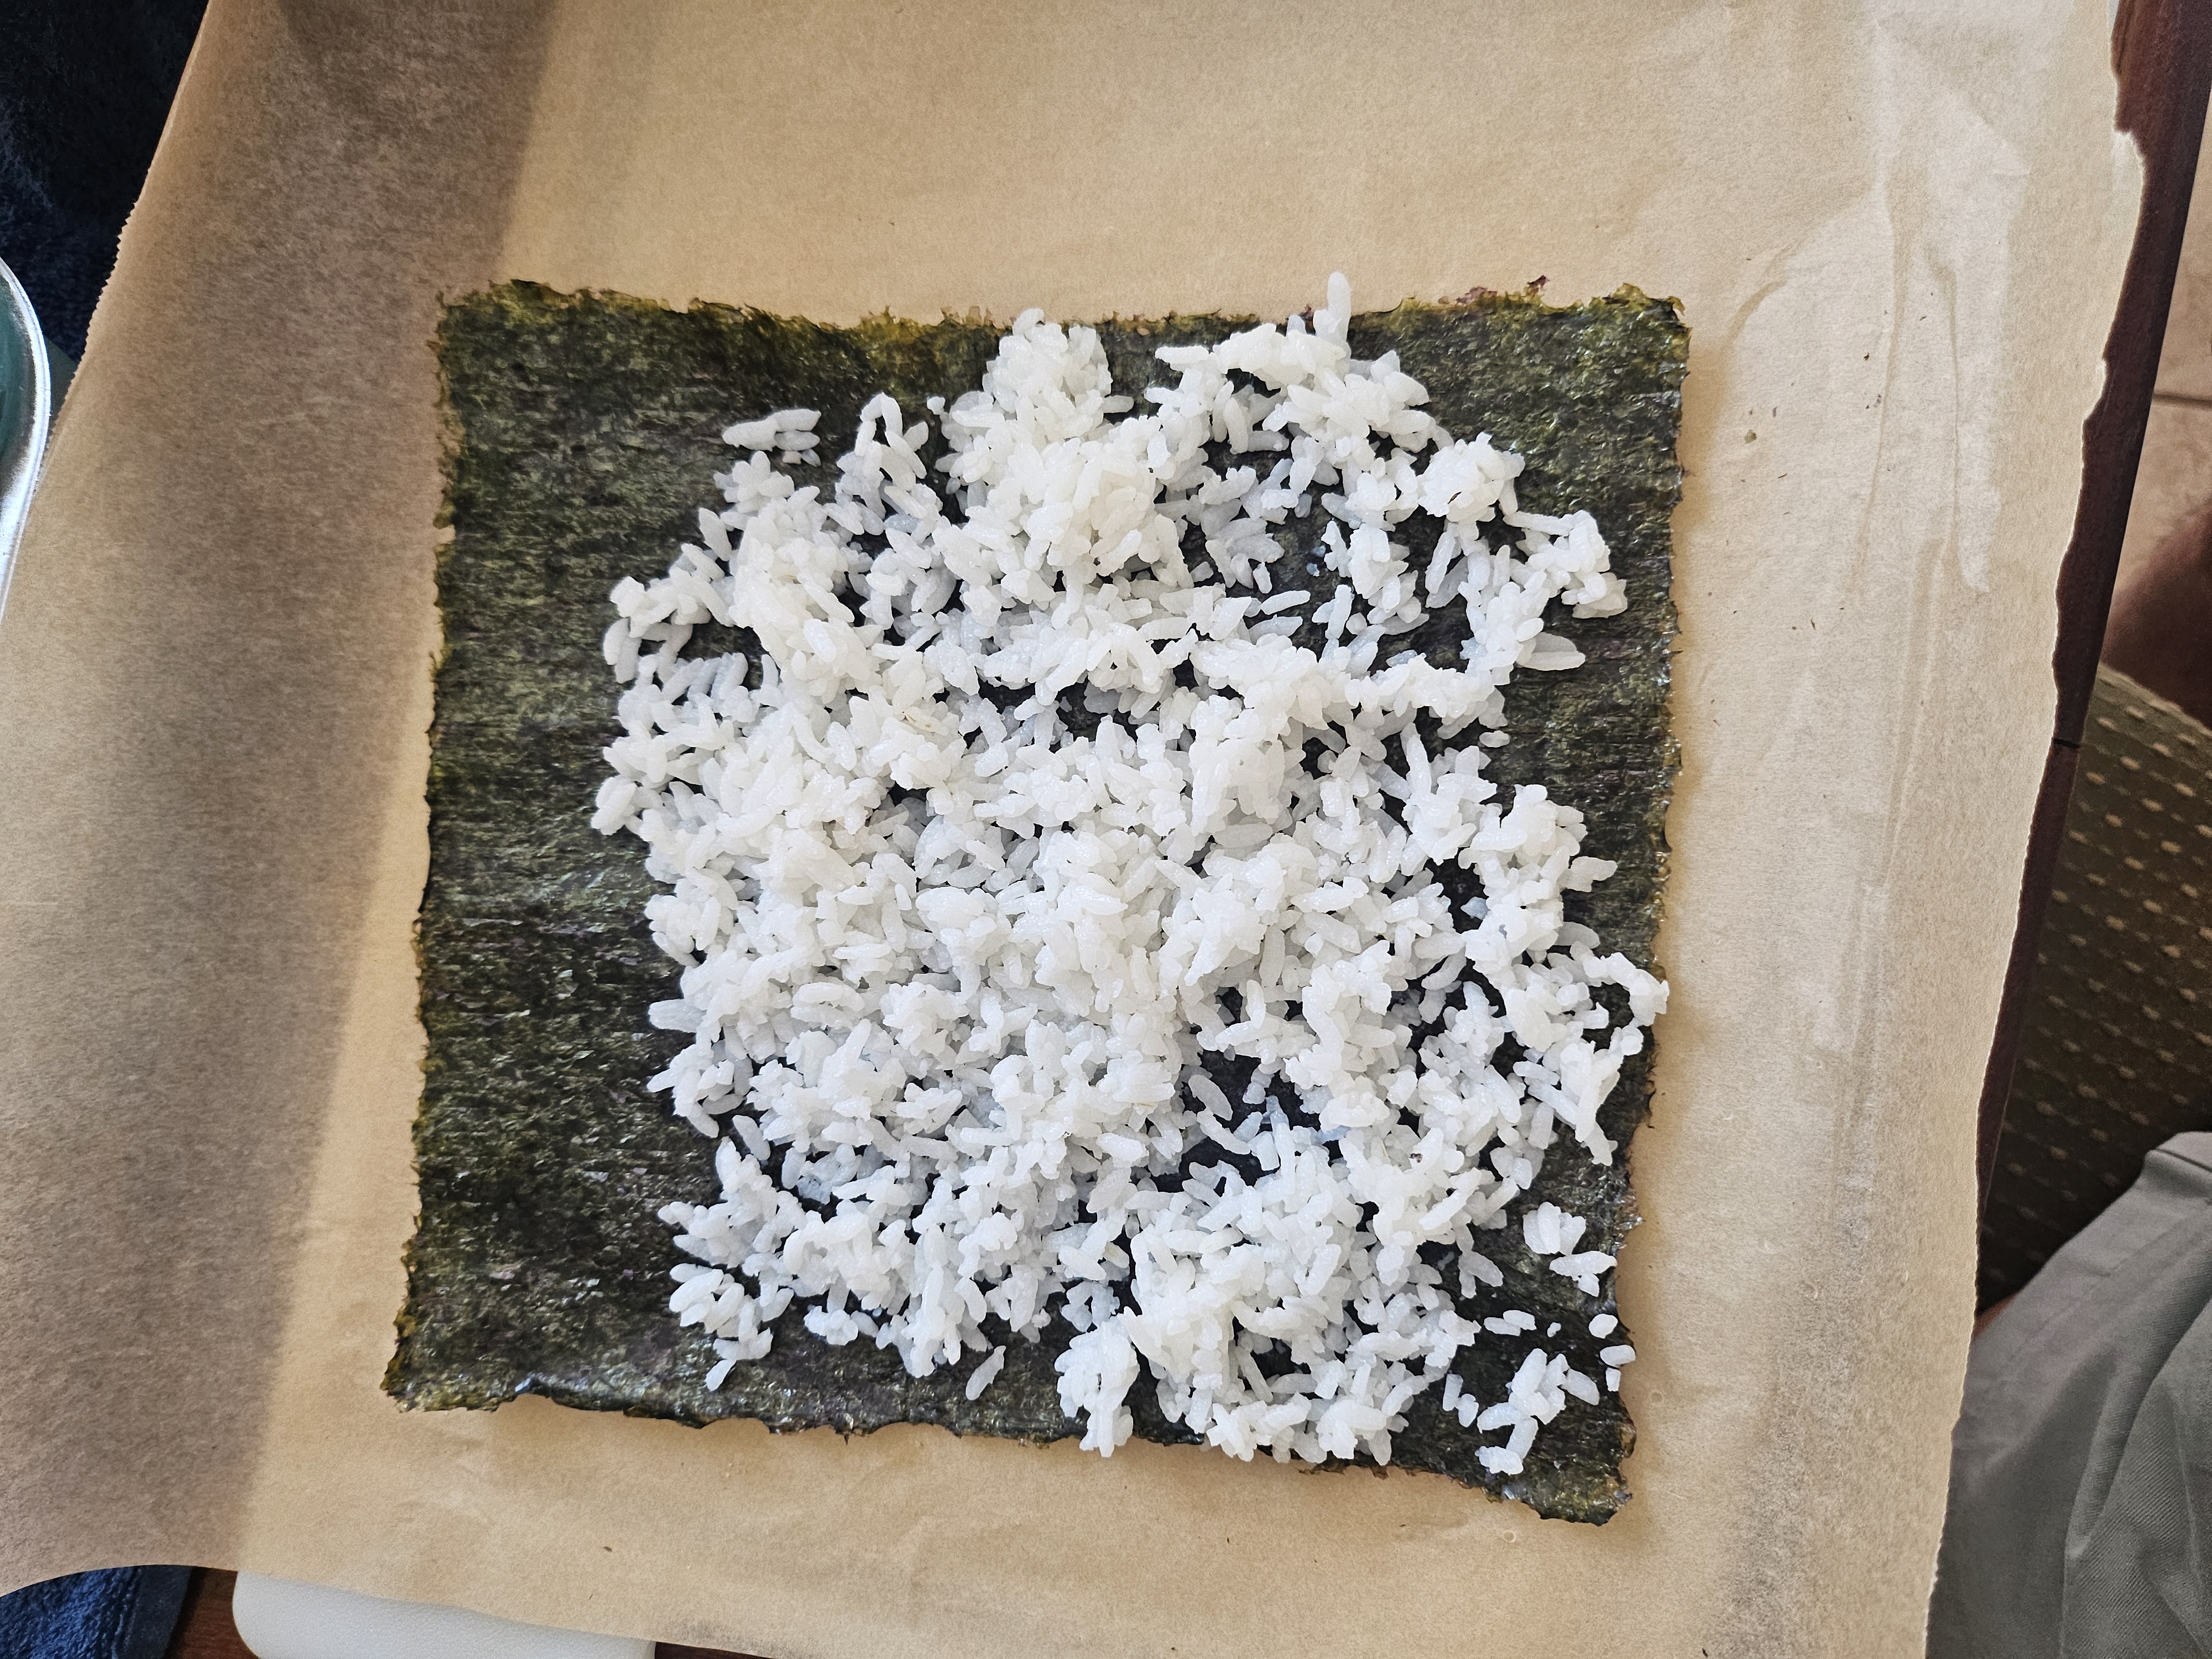
Lay the spinach, carrots, tofu, one stalk of danmuji and two stalks of the burdock root in the middle of the rice.
Roll up the kimbap. If you're going off of the orientation in the photos above, you want to roll up the bottom first and roll your way to the top. My technique, which is probably wrong since I'm not even using the bamboo mat, is that I'll make a loose roll first by hand, and then I will use the parchment paper to help squeeze everything together and make it tight. You might wonder how the uncovered section of the laver/nori is able to stay rolled up and not flap about in the air, but the steam from the rice will help soften it up and makes it stick to itself, kind of like Saran wrap.
Continue until you run out of something.
Once you're done making your rolls, you can either slice them all up into about 1/2" slices, or just eat them like a burrito if you can't be arsed.